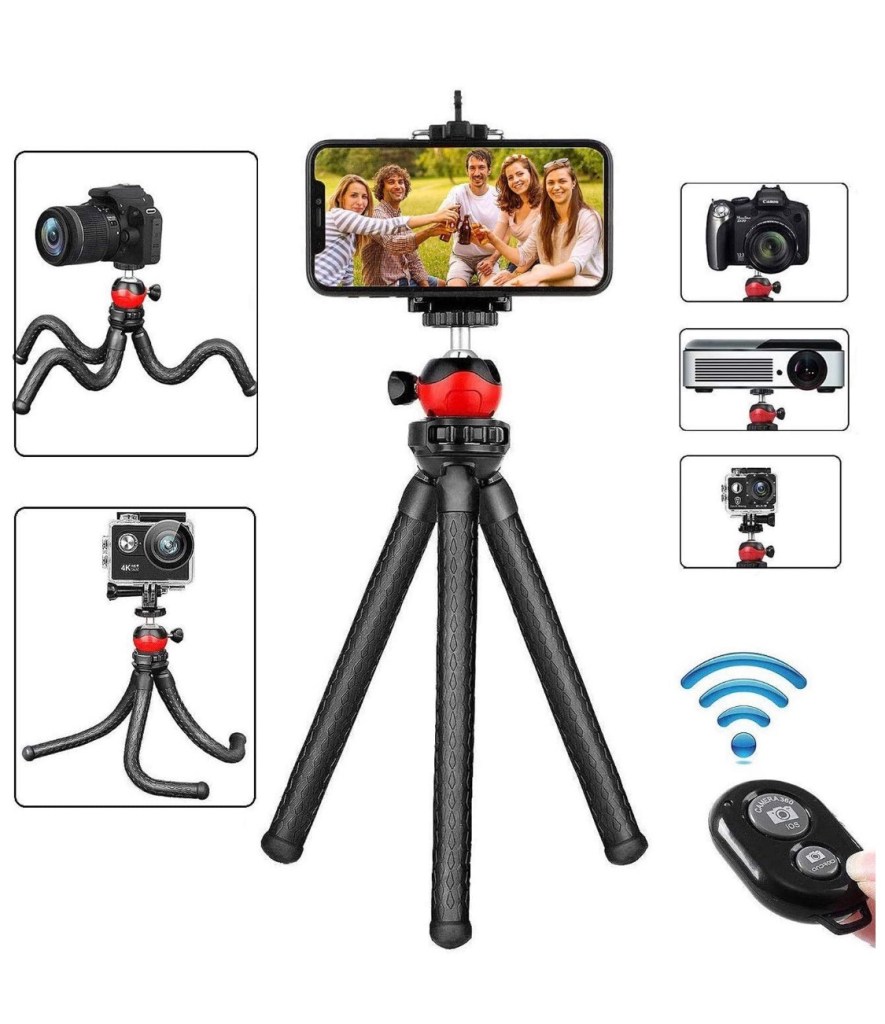
1) Stability is key! Get a tripod. Tripods for iPhones are pretty cheap and will significantly increase the quality of your photos. Here’s an example of one I use.
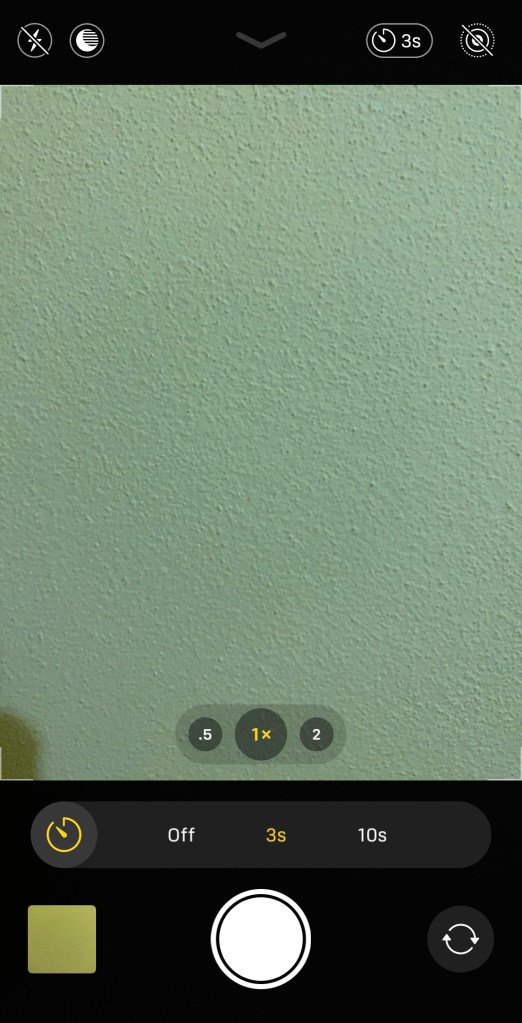
2) Use the timer feature or an Apple Watch to engage the shutter to reduce vibration or movement of the phone. Again… Stability is key.
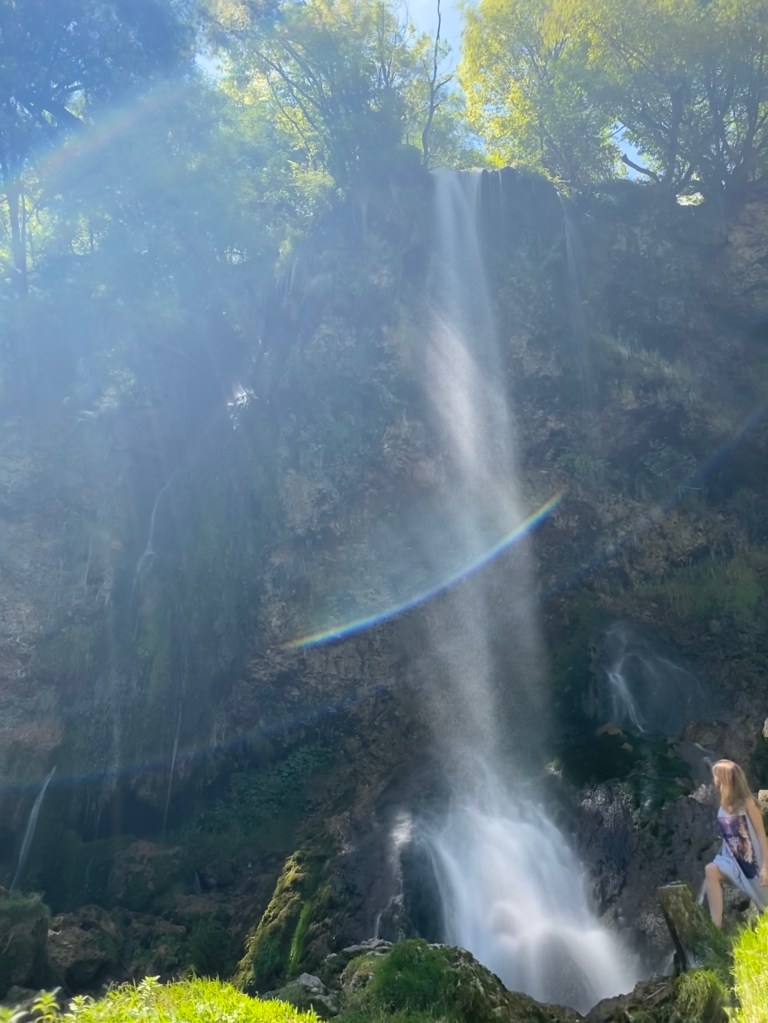
3) Make sure you have good lighting. If the sun is in front of the object you’re taking a photo of, the glare will most likely ruin the photo. Try to get the sun shining onto the object, not behind it.
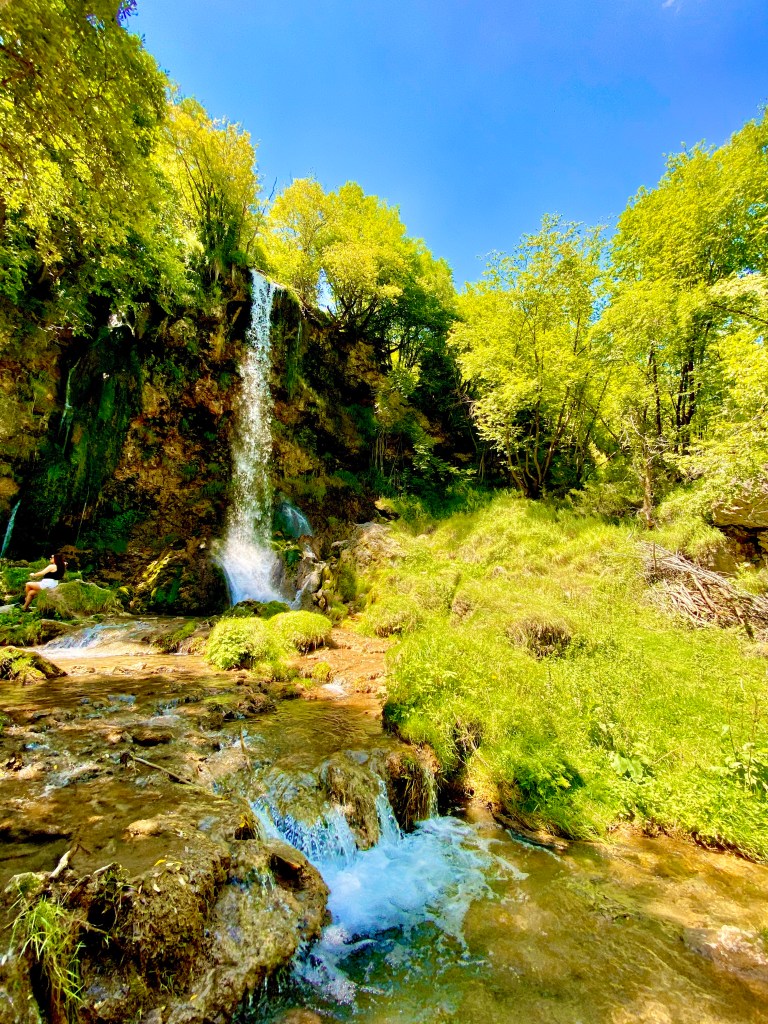
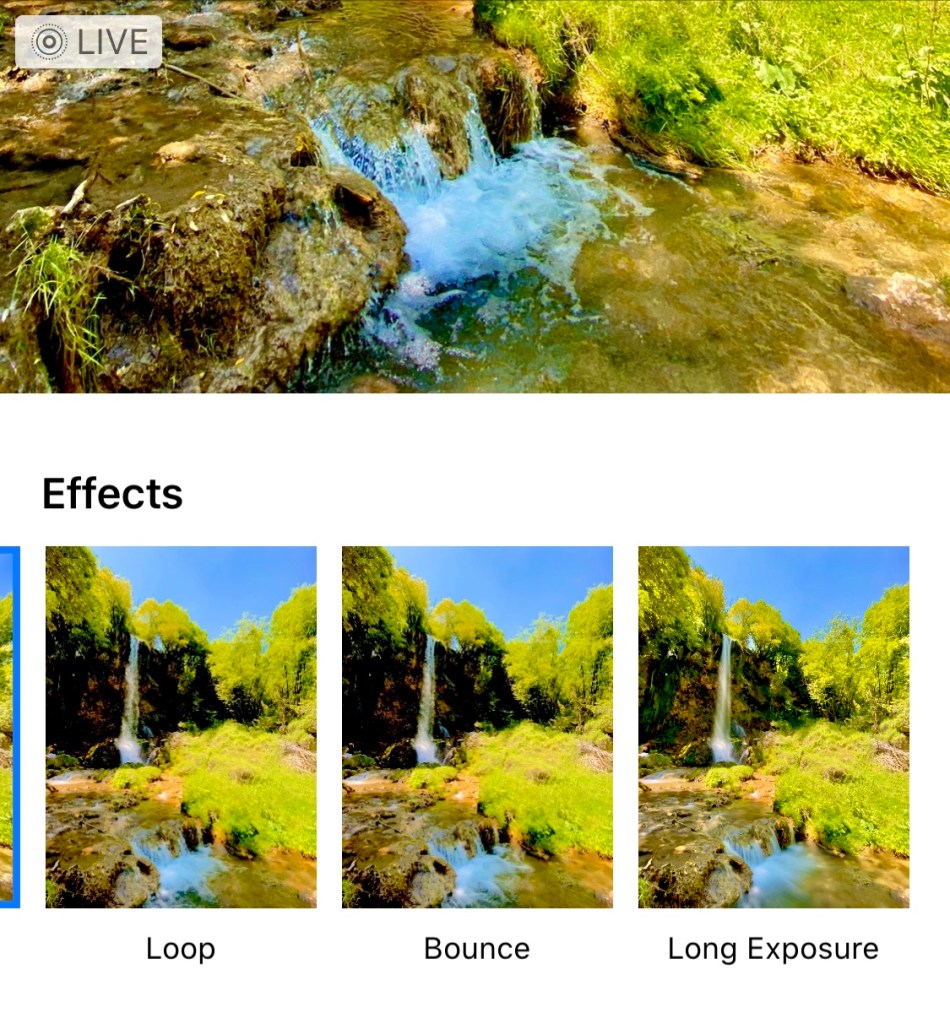
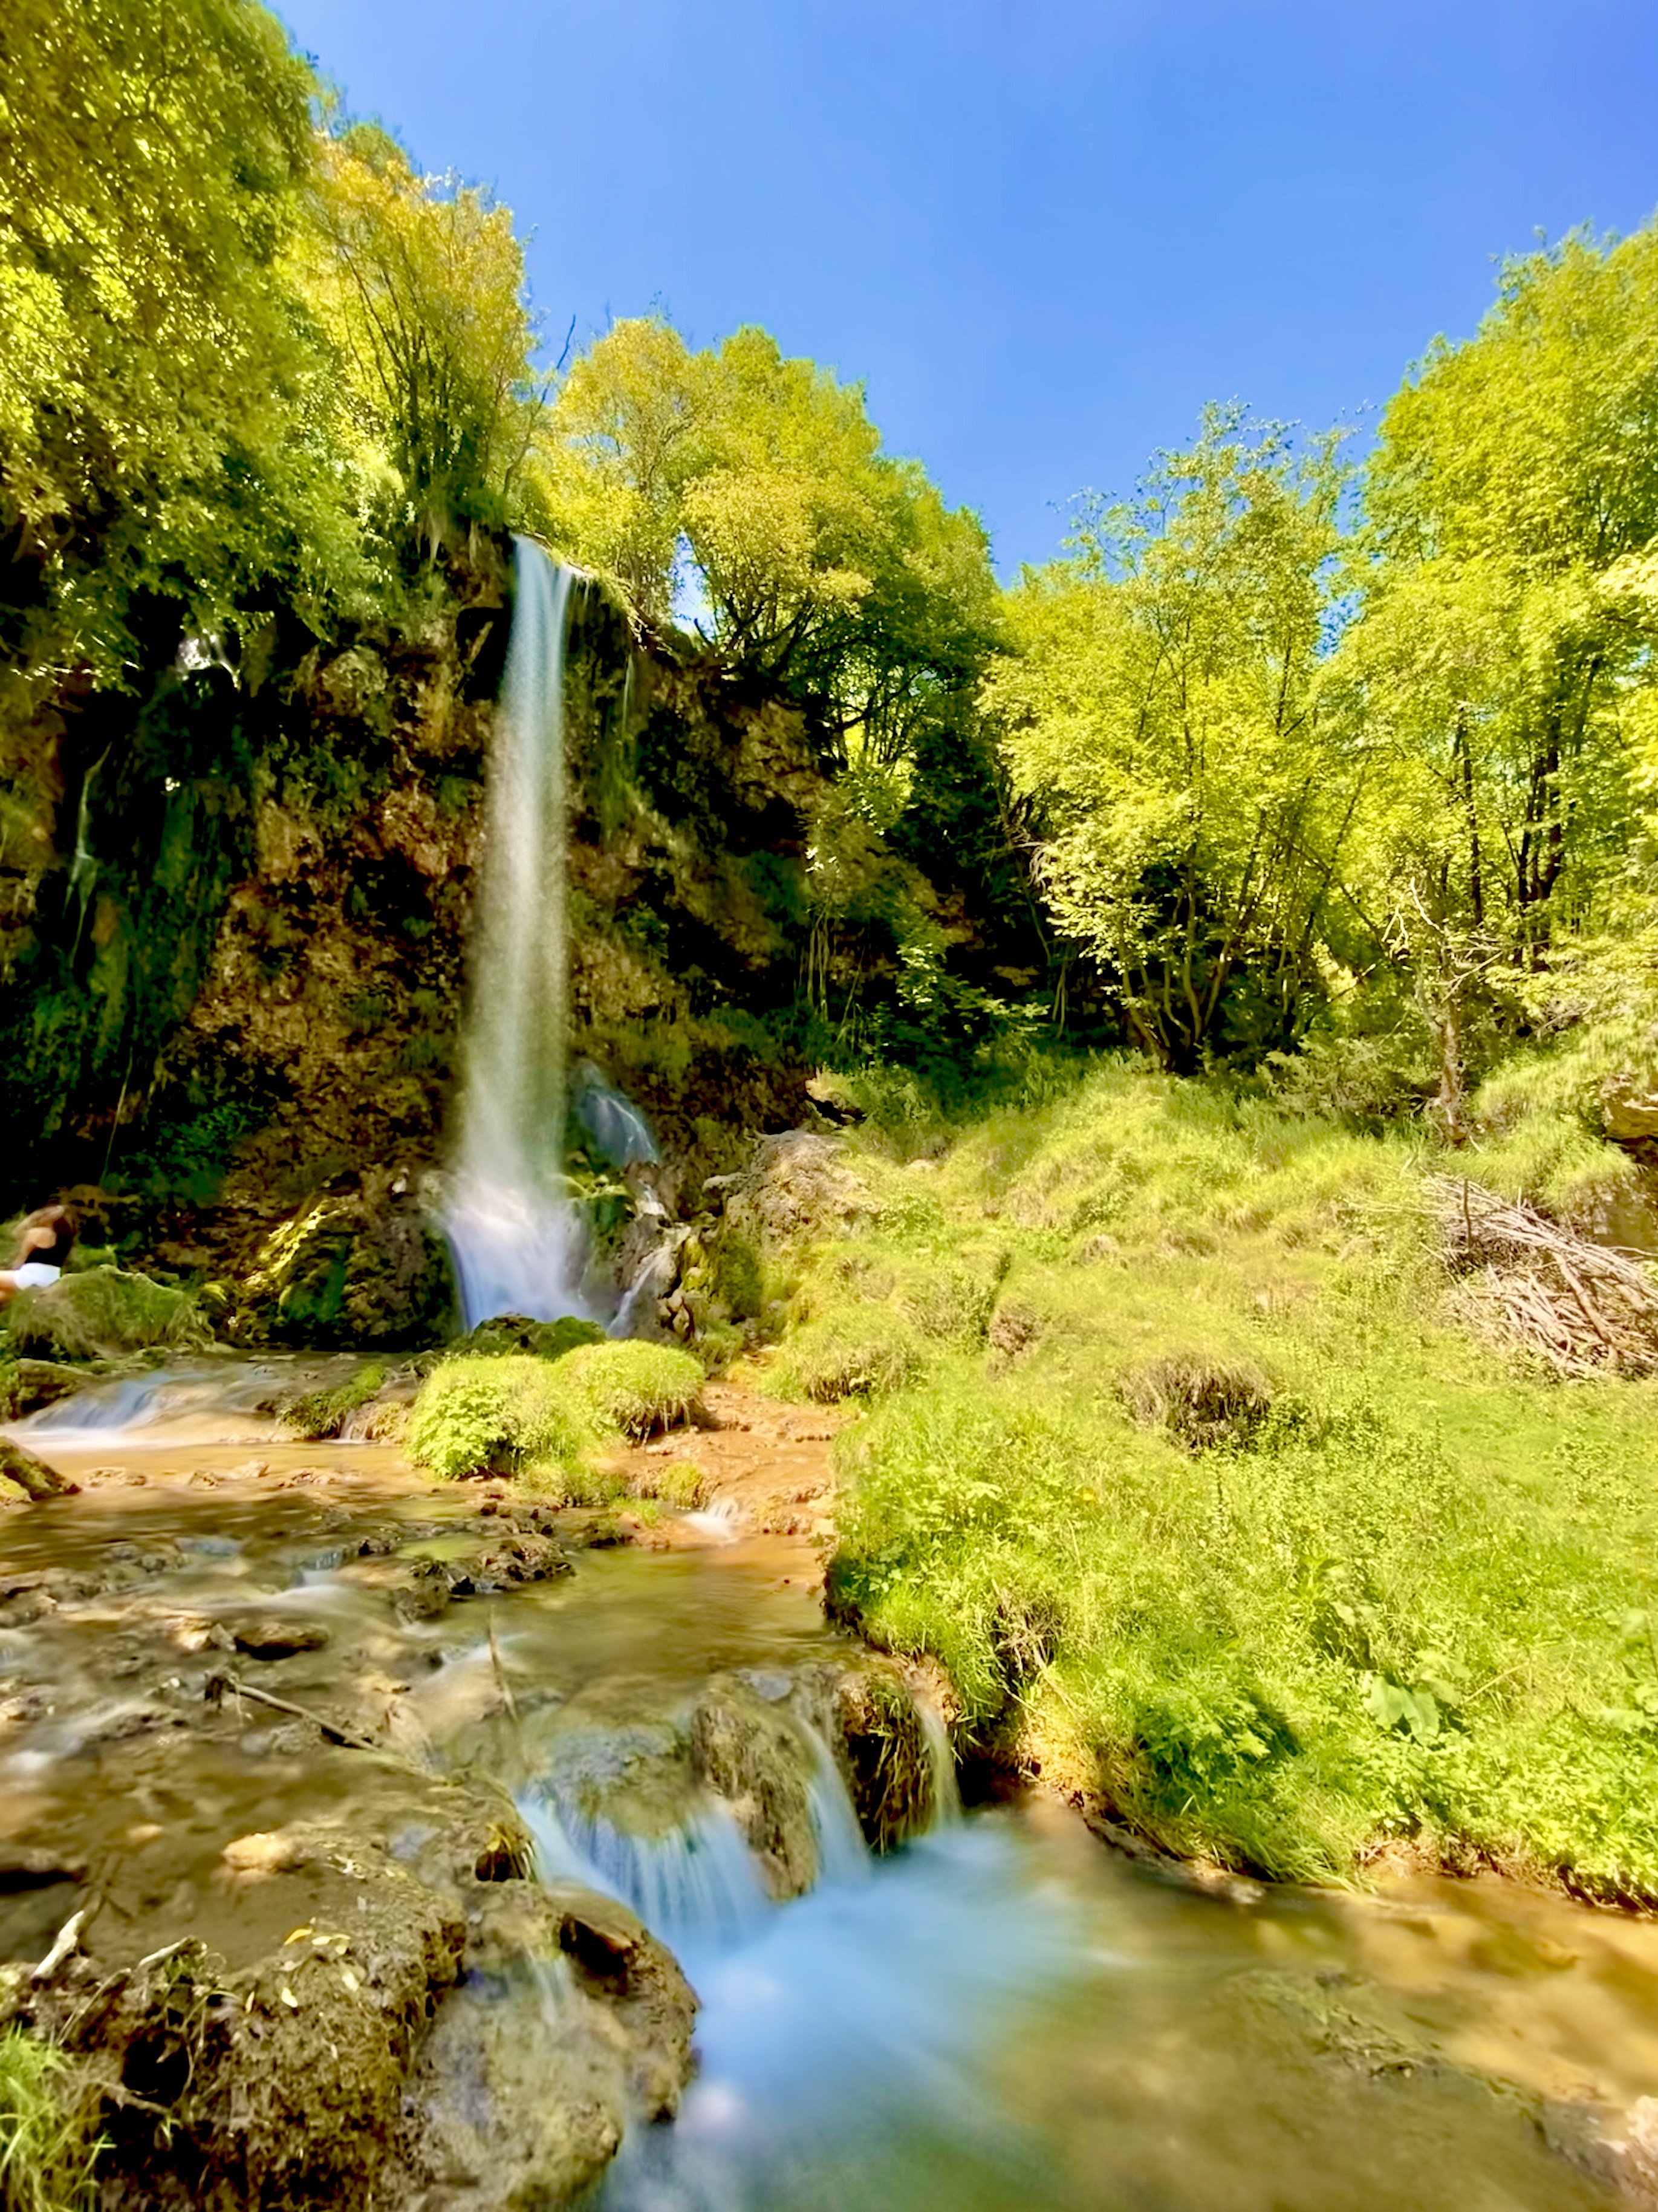
4) Whispy Waterfalls – To take great whispy waterfall pics, make sure the phone is in a tripod or resting against something so it won’t move. Turn on Live Photo in the camera app. Use the timer feature or an Apple Watch to take the photo without the phone being touched to reduce movement. The only thing that should be moving in the photo is the water. If a person or object is in the frame and they move at all, they will be blurry. Once you’ve taken the photo, go to the photo library. Find the photo and swipe up from the bottom. You’ll see 4 options. The last option is “Long Exposure”. Choose this to get the whispy waterfall effect.
5) Night Shots – Great night shots are all about long exposure and stability. You MUST use a tripod (See tip #1 above). The newer iPhones have a night mode built in but the long exposure defaults to 1-3 seconds. To get a great night shot, you want the max which is 30s. The amount of exposure is based on the stability of the phone. With a good tripod, you should get a 30s exposure. To set this, click the moon icon in the top left. Move the slider as far to the right as possible. If you set it to “Max”, it will go as long as it can based on the stability.
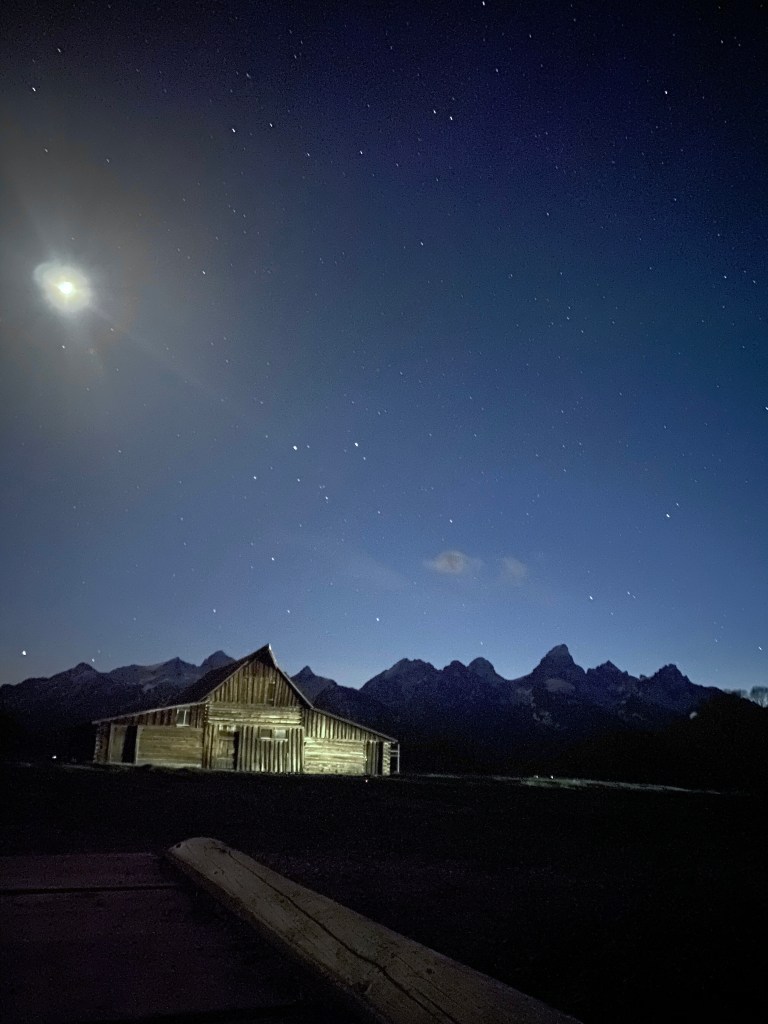
If you have an older iPhone, you can also try apps like Slow Shutter or Nightcap which will emulate the night mode of the new phones and offer some other cool features like light tracing and star trails.
6) Light painting. If you follow Tip #5, you can also do something called light painting if you have a flashlight or other small light. As you take the night shot with very low light, you can shine the flashlight on the object directly in front of you to paint the object with light.
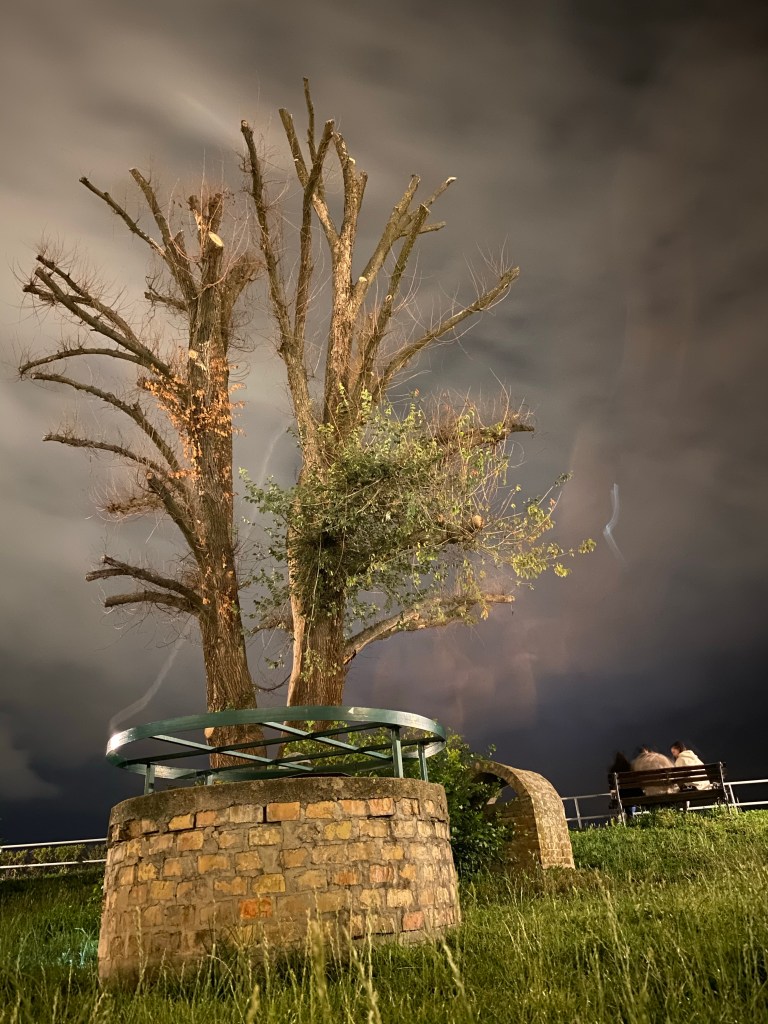
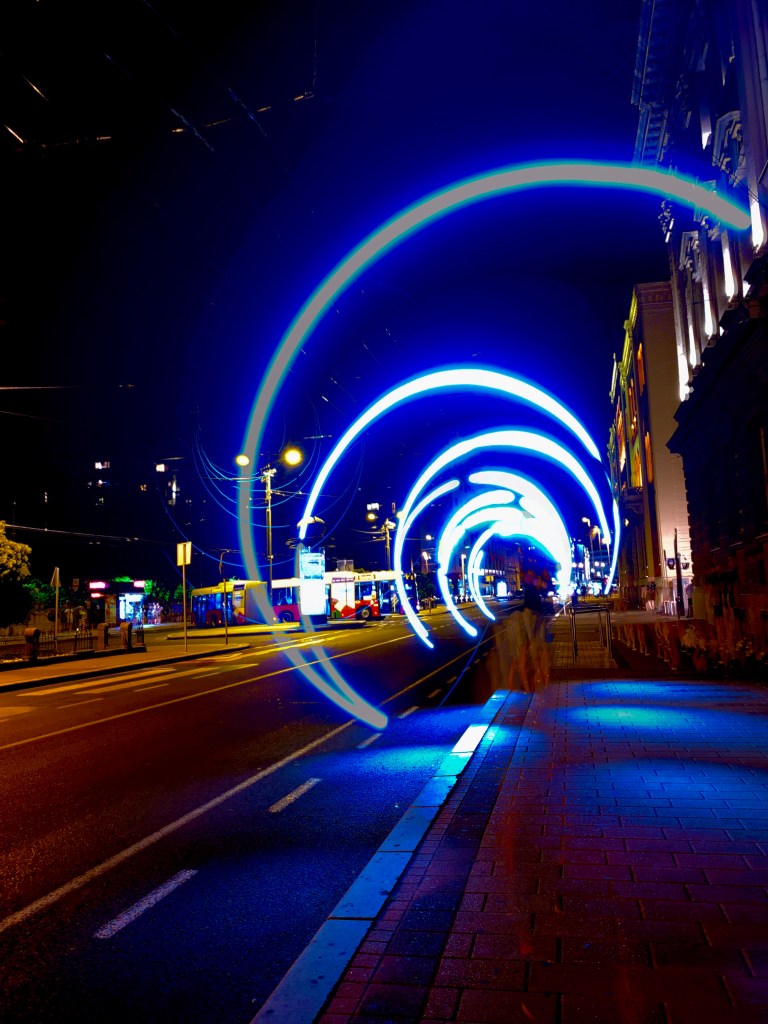
7) Light Trails – When taking long exposure night photos, you can use a flashlight or pen light to create artistic light trails. Simply start taking the photo and then while standing in front of the camera, shine the light at the camera while moving the light. You can make effects similar to the image below.
What are some of your favorite photo tips for iPhone users? Leave a comment below!




Love these tips!
LikeLiked by 1 person
Glad you found them helpful!
LikeLike
I am enjoying your pict handy tricks
LikeLike
Thanks Frans!
LikeLike